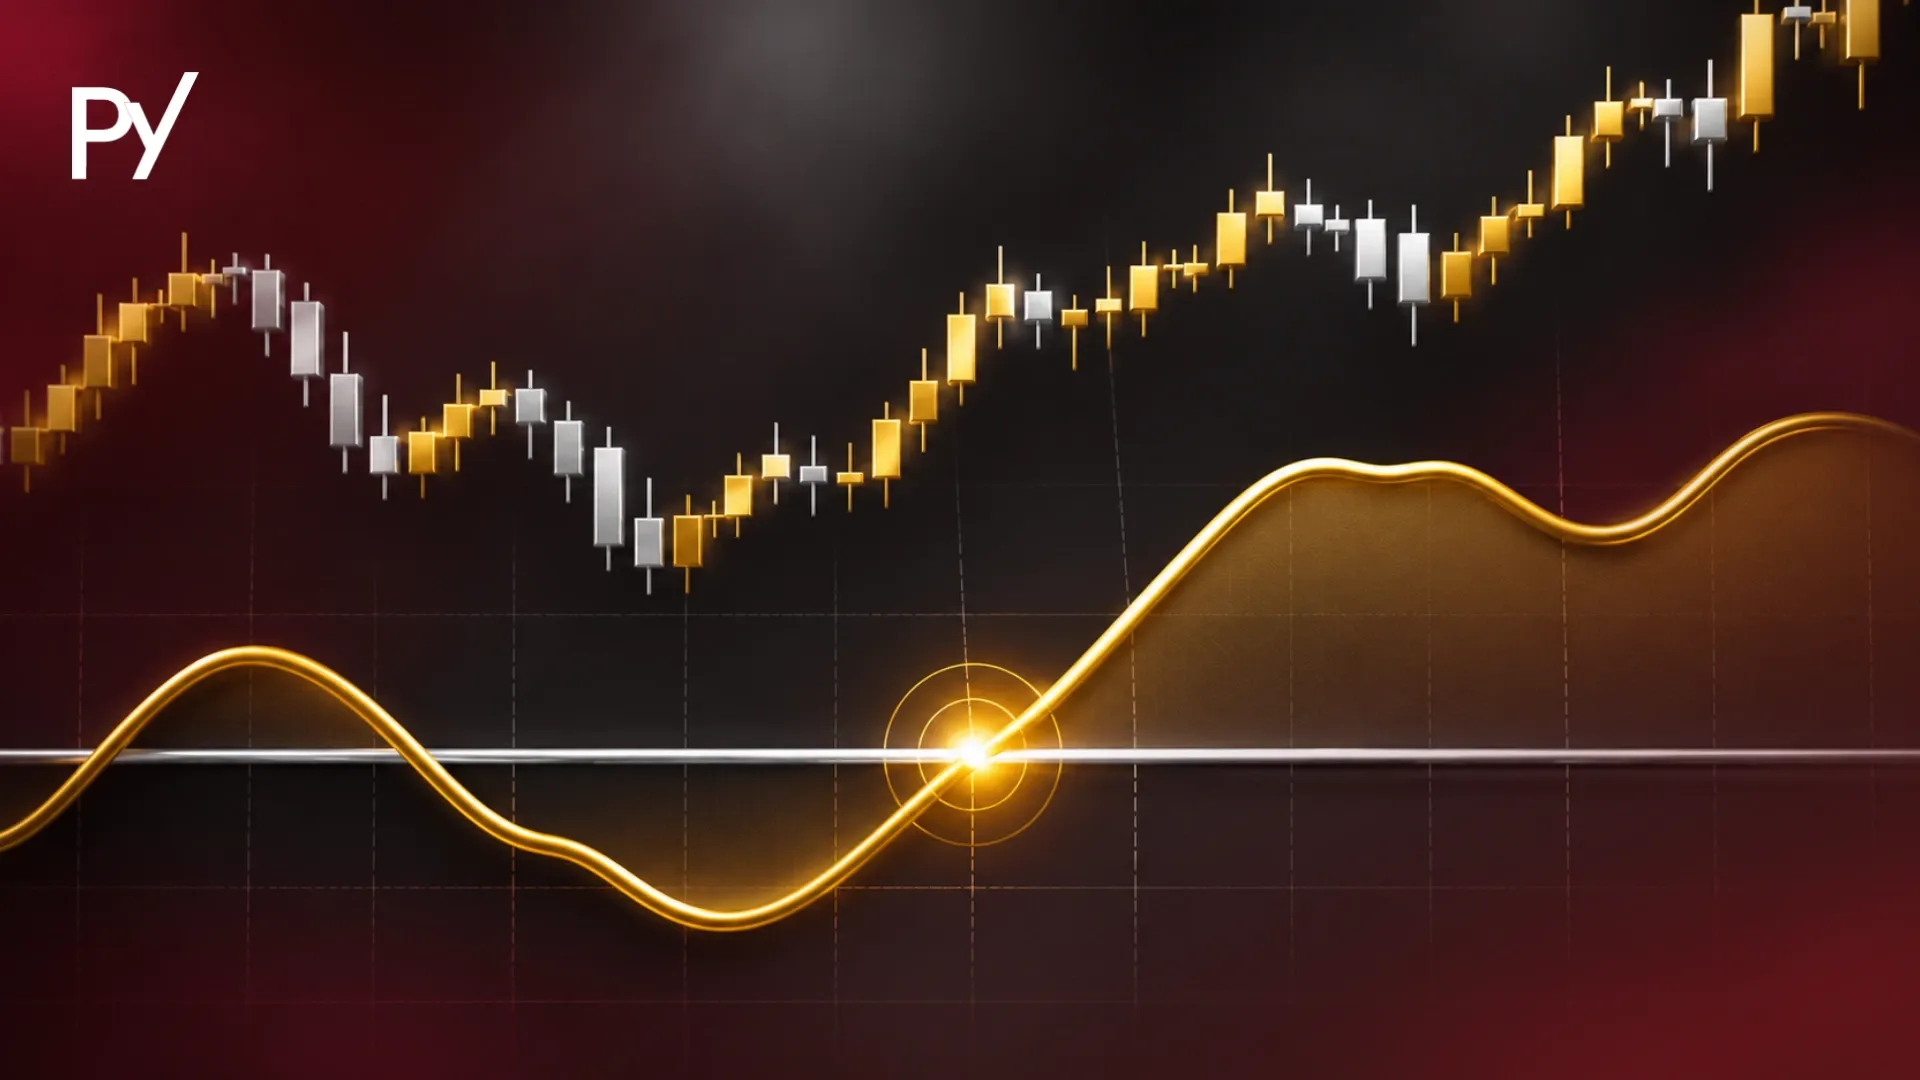
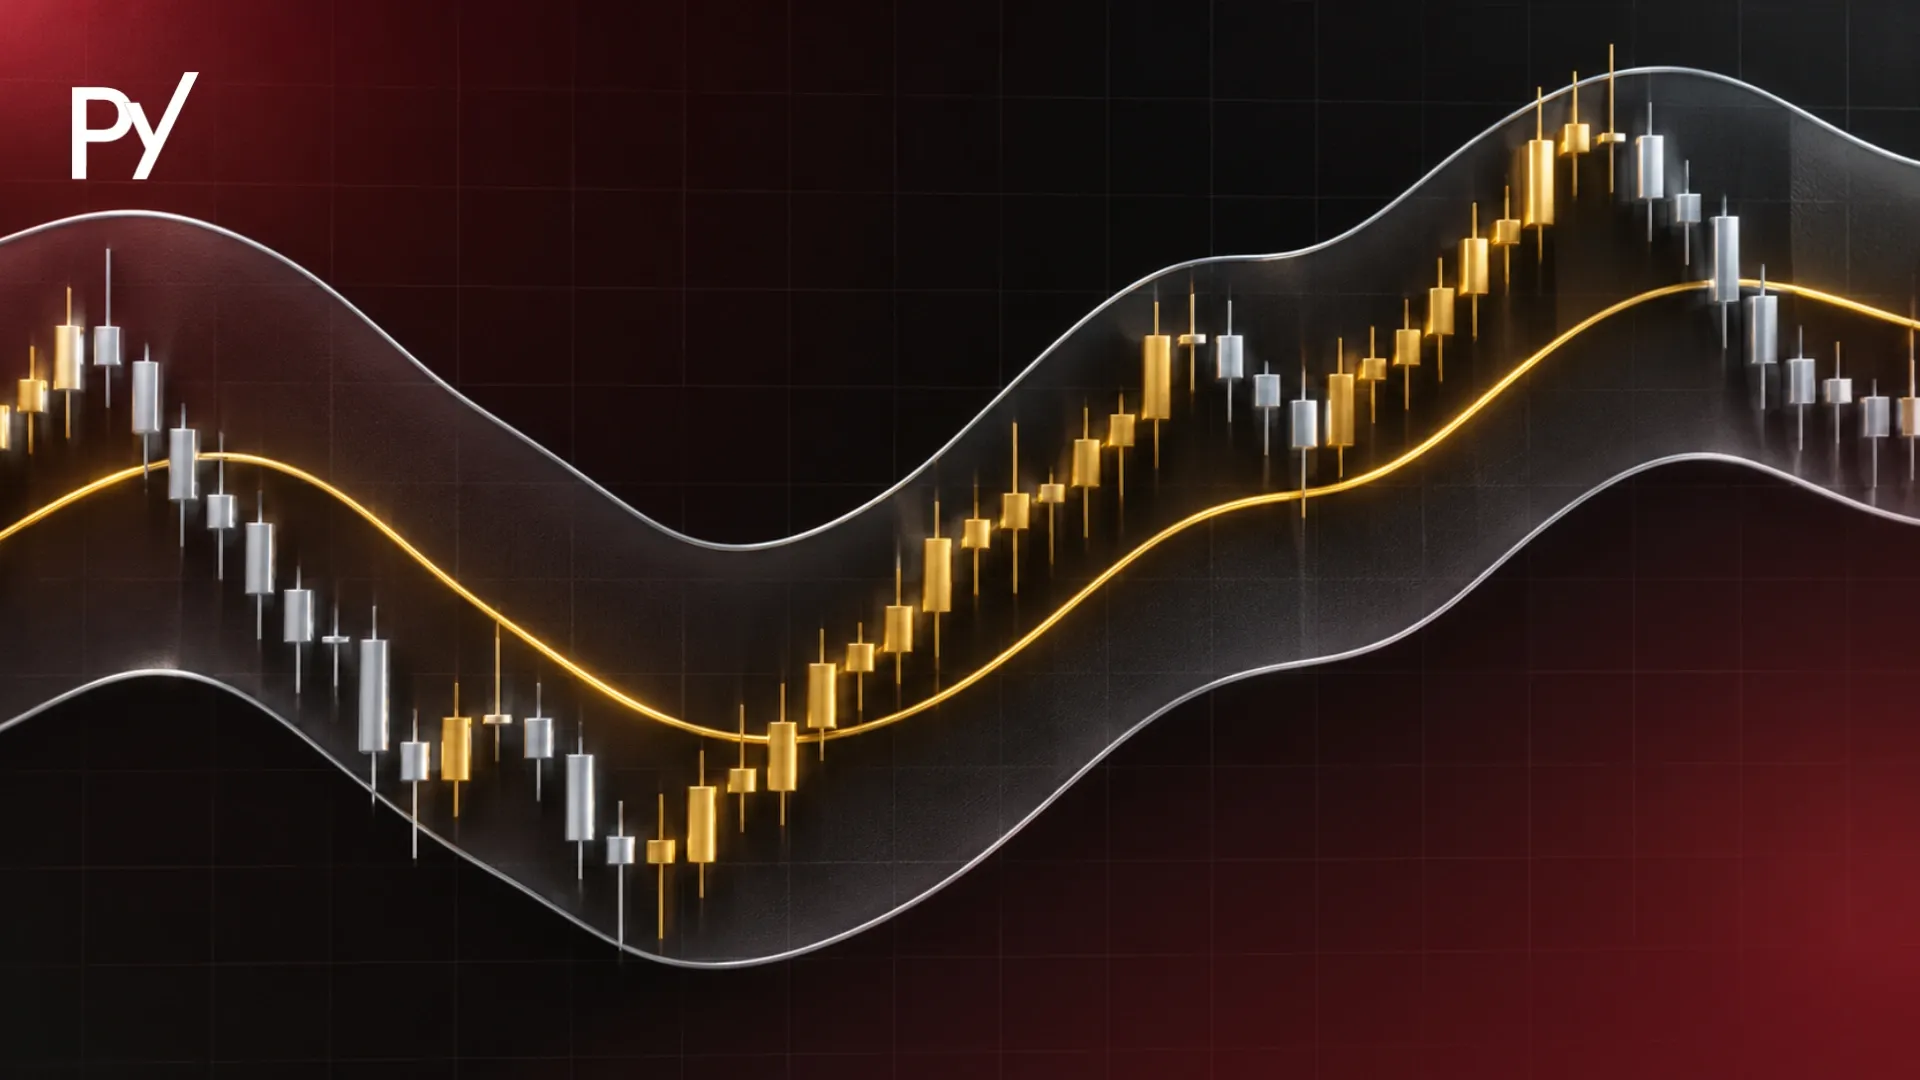
A swing high is a local price peak with lower highs on both sides, and a swing low is a local trough with higher lows on both sides. In funded trading, confirmed swing points act as objective invalidation levels. Measuring the distance to these pivots helps you size positions and protect your daily loss limit.
A swing high is a local price peak with lower highs immediately before and after it, while a swing low is a local price trough with higher lows on both sides.
Guessing stop-loss distances with arbitrary pip or dollar caps is one of the fastest ways to burn through a funded account's daily loss limit. Anchoring your risk to confirmed price pivots gives you an objective point where your trade idea is proven wrong. This guide covers swing high and swing low meaning, how to confirm pivots without hindsight bias, and how to size positions around structural stops.
What Is a Swing High and Swing Low in Trading?
In trading, a swing high is the highest price point reached during a localized upward move before price turns lower, and a swing low is the lowest price point reached during a localized downward move before price turns higher. Together, these turning points form the structural skeleton of every price chart across forex, futures, indices, and crypto.
Understanding swing high and swing low meaning comes down to separating genuine directional shifts from routine candle-by-candle noise. Picture a mountain trail: as you hike up a ridge, brief flat spots don't mean you've reached the summit. You only know you crossed the peak once the path clearly slopes downward on the other side. Similarly, a valley floor is only confirmed once the ground begins climbing again.
On a financial chart, every price move breathes in waves rather than moving in a straight line. Buyers push price up until selling pressure absorbs demand, creating a swing high. Sellers push price down until buying interest steps in, creating a swing low.
For funded traders, the real value of these pivots isn't predicting exact market tops or bottoms: no structural tool can guarantee where price will reverse. Instead, confirmed swing points give you objective invalidation levels. If you enter a long position expecting an uptrend to continue, a confirmed swing low below your entry marks the exact threshold where your trade thesis fails. Knowing that price level in advance lets you calculate exact dollar risk before you ever click buy or sell.
How to Identify a Swing High and Swing Low Without Hindsight Bias
You identify a swing high by finding a candle whose high sits above the highs of a chosen number of candles immediately to its left and right, and a swing low by finding a candle whose low sits below the lows of surrounding candles on both sides.
To keep your chart reading consistent under evaluation pressure, it helps to separate objective chart mechanics from subjective trader judgment:
Spot the candidate peak or trough: Look for a candle wick that reaches noticeably higher or lower than the bars immediately preceding it.
Apply your lookback rule (subjective choice): Decide in advance how many surrounding candles you require. A 3-bar pivot needs one lower high on the left and one lower high on the right. A 5-bar fractal requires two lower highs on each side. Neither setting is objectively superior: 3-bar pivots react faster but generate more noise, while 5-bar pivots filter minor fluctuations at the cost of slower confirmation.
Wait for the right-side candles to close (objective rule): A pivot is never valid while the confirmation candles are still forming. Only after the required right-side bar closes does the swing point become locked on your chart.
That third step exposes the biggest trap in swing identification: every swing high and swing low is confirmed in hindsight. In live market conditions, a candle might spike above a previous high, look like a sharp rejection mid-bar, and then close near its top as momentum keeps running. Traders who treat an unclosed wick as a confirmed swing high often enter counter-trend trades prematurely and absorb avoidable losses when price never turns.
How Swing Highs and Swing Lows Define Market Structure
Individual swing highs and swing lows act as the building blocks of market direction, allowing you to classify whether an instrument is in an uptrend, a downtrend, or a sideways range without relying on lagging indicators.
When you connect consecutive confirmed pivots from left to right, one of three structural states emerges:
Uptrend: Price prints a sequence of rising swing peaks and rising swing troughs: commonly mapped as higher highs and higher lows. As long as new pullbacks hold above the prior confirmed swing low, bullish structure remains intact.
Downtrend: Price prints falling swing highs and falling swing lows. Each rally stalls below the previous peak before sellers drive price through the prior trough.
Range or consolidation: Swing highs cluster near a horizontal ceiling and swing lows bounce near a horizontal floor, signaling temporary balance between buyers and sellers.
A frequent mistake during prop firm challenges is misreading internal swings versus external swings across timeframes. A 5-minute chart can print a clear sequence of lower swing highs and lower swing lows (looking like a strong downtrend) while simply executing a normal, healthy pullback inside a 4-hour bullish swing leg.
If you short every 5-minute swing break without checking where price sits relative to the higher-timeframe swing low, you end up selling right into institutional demand. Learning how multi-timeframe pivots fit together through market structure trading keeps you aligned with the dominant wave instead of fighting it.
Why Swing Points Matter for Prop Firm Drawdown and Position Sizing
Swing highs and swing lows directly govern your survival in a prop firm evaluation because the distance from your entry price to your structural swing invalidation level dictates your maximum safe position size.
Most retail traders pick a fixed lot or contract size first and then squeeze their stop-loss inside a tight dollar cap. In a funded account (where breaching a 4% to 5% daily loss limit or a trailing drawdown cap terminates the account immediately) that backwards workflow is dangerous. If you place a 10-pip stop inside a 35-pip swing structure just to keep your lot size high, normal market noise will stop you out repeatedly before your trade idea has room to work.
Instead, let the market's swing structure set your stop distance, and adjust your position size so a loss equals your predetermined risk cap:
Position Size = Dollar Risk Cap ÷ (Stop Distance in Pips/Ticks × Value per Pip/Tick)
Consider a hypothetical $100,000 evaluation account where you cap risk at 0.5% ($500) per trade. Assuming a standard $10 per pip/tick value per lot, look at how swing distance changes your execution:
Swing Stop Distance (Entry to Swing Point)
Max Risk Cap (0.5% of $100K)
Adjusted Position Size (Illustrative)
Impact on Daily Loss Limit (4%–5%)
Tight Swing (15 pips / ticks)
$500
~3.33 standard lots
Uses ~10%–12.5% of daily buffer if stopped out
Medium Swing (30 pips / ticks)
$500
~1.67 standard lots
Controlled single-trade loss inside risk plan
Wide Swing (50 pips / ticks)
$500
1.00 standard lot
Protected—*only* if position size is reduced
Wide Swing (50 pips) *without* resizing
$1,665 (3.33 lots)
Unadjusted (oversized)
Burns ~33%–42% of daily drawdown in a single trade
You also need to account for how your firm calculates drawdown. If your account uses an intraday trailing drawdown that tracks unrealized equity highs rather than closed balance, holding a large position through a deep pullback toward a distant swing low can breach your floating equity limit: even if price reverses afterward and the wider swing structure never actually breaks.
3 Swing High and Swing Low Mistakes That Blow Funded Accounts
Even when you identify valid pivots on your chart, three common execution and behavioral mistakes can turn clean structural levels into rule-breaching losses.
Placing Stops Flush Against Obvious Swing Points (Herding and Liquidity Sweeps): When thousands of traders spot the exact same textbook swing low on a 15-minute or 1-hour chart, resting stop-loss orders cluster right beneath that wick. During major session opens or high-impact economic releases, price frequently dips a few ticks or pips beyond an obvious swing high or low to fill resting liquidity (and spreads widen simultaneously) before reversing in the original direction. Adding a modest volatility cushion (such as a fraction of the Average True Range) beyond the swing point reduces routine wick-outs, though no buffer protects against sudden price gaps or severe news slippage.
Keeping Fixed Size Across Varying Swing Distances: Volatility expands and contracts across trading sessions. If you trade identical volume on a narrow consolidation swing and a wide post-news swing, one normal structural stop-out can wipe out three or four winning trades: or push you straight into a daily loss violation.
Anchoring to Broken Swings or Chasing Mid-Swing Entries: Behavioural biases like anchoring and fear of missing out distort structural discipline. Once a candle closes decisively past your swing invalidation level, the original premise is broken; widening your stop or hoping price recovers turns a planned 0.5% loss into an account-ending spiral. Conversely, chasing price halfway between a swing low and swing high forces you to either use a massive structural stop or place an arbitrary tight stop floating in mid-air.
Conclusion
Swing highs and swing lows are objective structural markers, not guaranteed reversal signals. Their real edge in a funded account comes from giving you a clear invalidation point before you enter a trade: so you can calculate exact lot or contract size, avoid crowded flush stop-outs, and keep every loss inside your firm's daily drawdown rules. Once you can read individual turning points reliably, the next step is connecting them into a complete directional framework through market structure trading.
Disclaimer: This guide was written with AI assistance, reviewed for accuracy by the Proptary editorial team, and kept up to date. It's for education only — not financial advice. Prop trading and the financial markets carry a significant risk of loss, so consider your own situation and consult a licensed advisor before you trade.
Disclaimer
This guide was written with AI assistance, reviewed for accuracy by the Proptary editorial team, and kept up to date. It’s for education only, not financial advice. Prop trading and the derivatives markets carry a significant risk of loss, and past performance is not a guarantee of future results. Consider your own situation and consult a licensed advisor before you trade.
Proptary editorial team independently reviews prop trading firms, verifies payouts, and explains the rules that decide who keeps an account. We disclose affiliate relationships and publish methodology for every score.