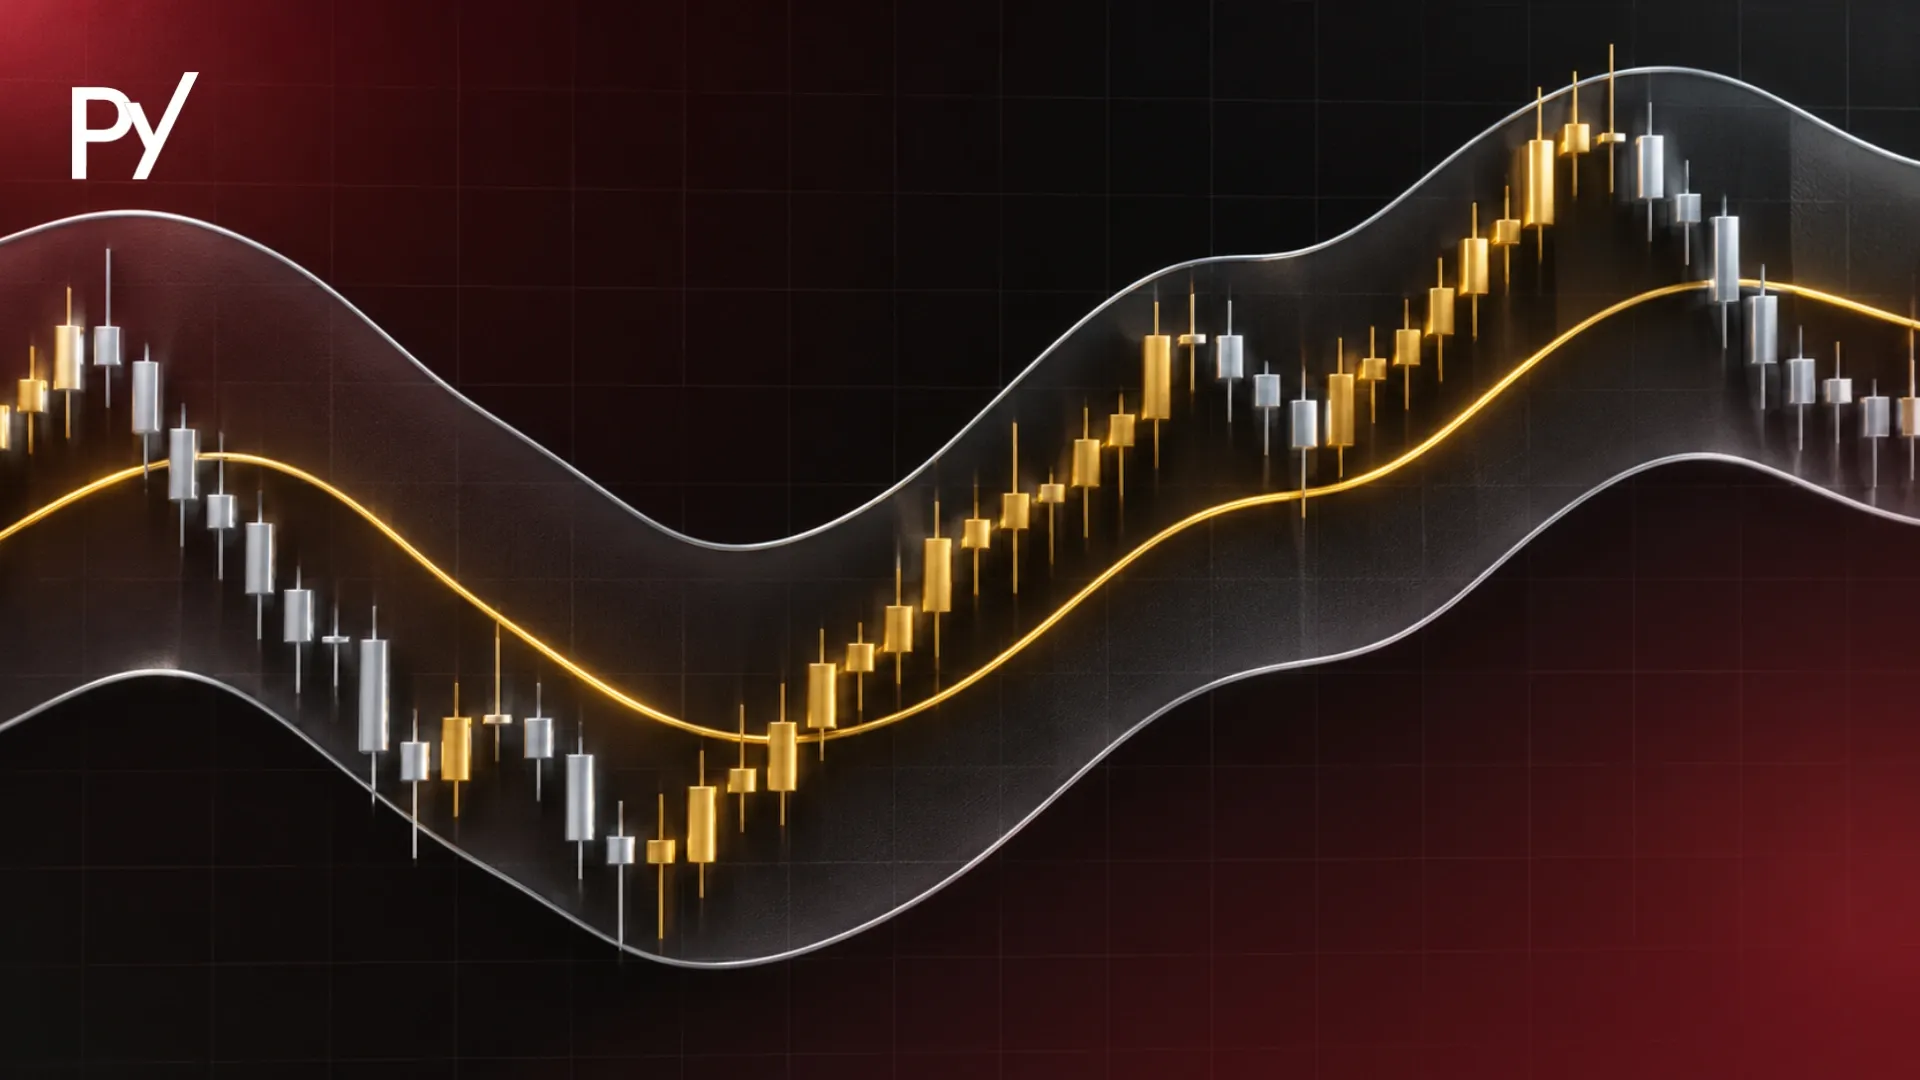
A bump and run pattern is a technical reversal formation where an orderly trend accelerates into a steep, unsustainable climb, then breaks support and reverses toward its origin. It has three phases: a gradual lead-in, an aggressive bump, and a run triggered by a trendline break. Traders use it to spot momentum exhaustion during blow-off rallies.
The bump and run pattern is an aggressive technical reversal formation where a steady trend accelerates into a steep, unsustainable parabolic surge before breaking support and reversing back toward its original baseline.
You have likely watched an asset climb vertically and felt the urge to short the absolute top, only to get wiped out as momentum pushed even higher. Inside a funded account, fighting a blow-off move can breach your maximum daily loss in minutes. Understanding how the pattern develops, confirms, and transitions into its run phase keeps your risk calibrated to clear structural validation.
What Is a Bump and Run Pattern?
A bump and run pattern (formally known as the Bump and Run Reversal (BARR)) is a classical chart formation that identifies trend exhaustion by tracking a transition from orderly buying to an unsustainable, parabolic blow-off move. Developed by technical analyst Thomas Bulkowski, who first published the pattern in a 1997 article in Technical Analysis of Stocks & Commodities magazine, the pattern appears across all liquid asset classes, including forex majors, index futures, and commodities.
To grasp what is bump and run pattern behavior on a deeper level, you have to look past the geometric lines and examine market mechanics. In an orderly trend, price advances along a sustainable trajectory governed by standard institutional rebalancing. When speculation takes over, price detaches from that baseline. Buyers begin chasing liquidity at any price, creating a steep, vertical spike.
The core bump and run pattern meaning centers on the reality of momentum exhaustion. Parabolic advances cannot sustain themselves indefinitely because they exhaust the pool of willing buyers. As the price moves higher at an accelerating velocity, volume eventually diverges, large participants distribute their inventory into retail breakout orders, and the market becomes structurally fragile. Once bids dry up, price collapses through the foundational trendline, shifting momentum aggressively in the opposite direction.
While the formation most commonly presents as a top reversal (BARR Top), it also occurs in reverse as a bottom reversal (BARR Bottom) following a panic-driven selloff. In both cases, the pattern serves as a visual record of a market transitioning from rational trend continuation to a speculative climax and subsequent liquidation.
The 3 Phases of the Bump and Run Reversal
The bump and run pattern unfolds across three sequential phases: the lead-in phase, the bump phase, and the run phase. Each phase features distinct slope dynamics, volume characteristics, and psychological drivers.
Phase
Typical Slope Angle
Market Dynamics
Key Technical Characteristics
Lead-in Phase
30°–45°
Orderly, sustainable trend
Multiple touches validating baseline support
Bump Phase
45°–60°+
Parabolic vertical advance
Peak height reaches at least 2x lead-in height; volume exhaustion
Run Phase
Downward breakdown
Decisive break below trendline
Rapid liquidation toward the origin of the lead-in phase
With the bump and run pattern explained mechanically, here is how each stage functions:
1. The Lead-in Phase
The lead-in phase establishes the baseline trend. During this stage, price advances in an orderly, sustainable channel. The defining technical characteristic of the lead-in phase is its slope: the trendline typically forms an angle between 30° and 45° relative to the horizontal axis.
Volume during the lead-in phase remains steady or normalizes around multi-session averages. Price respects this foundational trendline with multiple validation touches, signaling that institutional capital is steadily supporting the move rather than aggressively forcing a breakout.
2. The Bump Phase
The bump phase begins when the slope of the advance detaches from the lead-in trendline and accelerates sharply. Price curves upward into an aggressive ascent, with the slope commonly steepening to between 45° and 60°+, or even vertical.
To qualify as a valid BARR setup under classical charting rules, the peak of the bump must rise substantially above the extended lead-in trendline: typically reaching at least 2x the height measured between the highest peak in the lead-in phase and the lead-in trendline. Volume during the early stages of the bump often surges dramatically due to speculative momentum, but as the peak forms, volume frequently begins to dry up, signaling that marginal buying power is spent.
3. The Run Phase
The run phase marks the actual reversal and execution window. After reaching the bump's apex, price rolls over and falls back toward the extended lead-in trendline. The run phase officially begins once a candlestick closes decisively below this primary trendline.
Once support breaks, the market often experiences rapid downside acceleration as trapped breakout traders liquidate long positions. The minimum projected objective for the run phase is the price level where the lead-in phase originally began, effectively retracing the entire multi-session advance.
Bump and Run vs. Head and Shoulders Pattern
While both formations signal major market reversals, the bump and run pattern captures a sudden velocity collapse following a parabolic spike, whereas a standard head and shoulders pattern reflects a prolonged, multi-swing distribution of orders.
Feature
Bump and Run Reversal (BARR)
Head and Shoulders Pattern
Underlying Driver
Parabolic climax and liquidity exhaustion
Prolonged, multi-session order distribution
Visual Geometry
Asymmetrical vertical spike over baseline
Symmetrical three-peak structure
Trendline Slope
Shifts abruptly from 30°–45° to 45°–60°+
Bounded by a horizontal or slightly angled neckline
Breakout Velocity
Aggressive, rapid liquidation on break
Measured breakdown through neckline support
Funded Account Risk
Severe blow-off overshoot if shorted early
Choppy false breakouts around the neckline
In a head and shoulders formation, the battle between buyers and sellers is protracted. You see a clear left shoulder, a higher high (head), and an exhausted lower high (right shoulder), giving you defined swing levels and horizontal neckline support.
By contrast, the bump and run pattern does not offer symmetrical shoulders or balanced consolidation. It is defined by speed. The bump is an emotional surge driven by late retail buyers and short covering. When it fails, the reversal is often faster and steeper than a standard head-and-shoulders breakdown because there are fewer resting bids beneath an exponential price spike.
Why the Parabolic "Bump" Traps Funded Traders
The parabolic bump traps funded traders because counter-trend moves during a vertical momentum surge generate adverse excursions that quickly violate maximum daily loss and trailing drawdown thresholds.
When an asset enters a blow-off top, technical indicators like the Relative Strength Index (RSI) frequently register readings above 80 or 90. Retail traders conditioned on mean-reversion strategies look at these overbought metrics and assume the market cannot climb higher. They open short positions directly into the vertical ascent.
In a personal cash account, a trader might endure a 100-pip adverse move and wait for the eventual collapse. In a funded account, you do not have that luxury. Prop firms enforce strict parameters:
Daily Loss Limits: If you short the bump prematurely, a single 15-minute expansion candle can push your open loss beyond your 4% or 5% daily loss limit, instantly pausing or failing the account.
Trailing Drawdown Locks: If the firm uses a high-water mark trailing drawdown calculated on equity, any unrealized profit accumulated earlier in the session gets locked at the peak. Taking adverse heat against a runaway bump closes the distance to your drawdown floor in seconds.
Execution Slippage: Volatility at the peak of a bump creates wide spreads and significant slippage. If you try to exit manually when you realize the rally has not finished, the market may execute your market order well past your intended risk threshold.
Attempting to pick the top of the bump phase is not trading; it is gambling against institutional momentum. Professional prop traders ignore the bump's apex entirely and wait for the lead-in trendline to break before committing capital.
How to Trade the Bump and Run (Validation and Entry)
Trading the bump and run pattern effectively requires waiting for a decisive candle close below the lead-in trendline, managing the high probability of a throwback, and defining targets based on the pattern's origin.
Step 1: Draw and Validate the Lead-in Trendline
Identify an established trend that has been climbing steadily at an angle of roughly 30° to 45°. Connect at least two major swing lows. Extend this line forward across your chart. If the trendline is steeper than 45° during its baseline phase, the foundation is already unstable, making the pattern unreliable.
Step 2: Confirm the Bump Geometry
Verify that the price has detached from your lead-in trendline at a significantly steeper angle (45° to 60°+). Measure the distance from the baseline trendline to the highest point of the lead-in phase. The peak of the bump must reach at least 2x that height. If the move does not clear this threshold, treat it as normal trend fluctuation rather than a true BARR formation.
Step 3: Select Your Entry Trigger
You have two primary entry methods once price rolls over from the bump peak:
Breakdown Entry: Enter short immediately upon the close of a candlestick below the lead-in trendline. This ensures you do not miss the move if price collapses vertically, but it exposes you to short-term adverse excursion if the market throws back.
Throwback Retest Entry: Wait for the breakdown to occur, followed by a corrective bounce back toward the underside of the broken trendline. Enter when price rejects this level with a bearish reversal candle. Throwbacks to the broken trendline are common with this pattern, so waiting for that bearish reversal candle at the retest level adds confirmation before you enter.
Step 4: Define Structural Stop Losses
Never place an arbitrary stop loss just above your entry candle. If you take the breakdown entry, place your stop loss above the most recent swing high formed inside the run phase before the breakdown. If you take the throwback retest, place your stop loss above the high of the retest candle cluster.
Placing your stop above the absolute peak of the bump is rarely viable inside a funded account because the distance is too wide, forcing you to use an unnaturally small position size to satisfy prop risk constraints.
Step 5: Establish Profit Targets
The primary profit target sits at the price level where the lead-in phase originally began. Because the run phase is unwinding an artificial speculative bubble, price frequently returns all the way to its structural baseline. To protect funded account equity, scale out 50% of your position once price retraces to the start of the bump phase, then move your stop loss to breakeven to eliminate risk on the remainder of the trade.
Common Mistakes When Trading the BARR
The most common mistakes when trading the bump and run pattern include front-running the breakdown, using arbitrary trendline angles, and placing stops too tightly without accounting for post-break throwbacks.
1. Front-Running the Reversal
The most frequent mistake is attempting to short the bump phase while price is still making new highs. Traders observe overextended candles and convince themselves that a reversal is imminent. In financial markets, parabolic moves can extend far longer than your account's drawdown limit can survive. Until the lead-in trendline is broken on a closing basis, the trend remains officially bullish.
2. Subjective and Forced Trendline Placement
A valid BARR setup requires a genuine lead-in trendline that the market respected across multiple touches. Many traders see an aggressive candle, panic, and draw arbitrary trendlines across minor intraday wicks to force the pattern into existence. If you have to bend your trendline through candle bodies or manipulate chart scales to achieve a 30° to 45° angle, the setup does not exist.
3. Panicking on the Throwback
Nearly half of all confirmed bump and run breakdowns experience a temporary pullback to the underside of the broken trendline before resuming their descent. Traders who place their stop loss directly at the trendline break point get routinely shaken out by this retest. If your account rules do not permit the stop distance required to survive a standard retest, reduce your lot size until the trade fits your risk parameters.
Conclusion
The bump and run reversal offers a systematic framework for capitalizing on market exhaustion, transforming what looks like chaotic price action into three orderly phases. Success with this setup requires resisting the impulse to pick tops during the vertical bump and instead waiting for unambiguous confirmation when the lead-in trendline breaks. Inside a funded account, adhering to mechanical validation and accounting for throwback volatility separates traders who capture substantial risk-reward runs from those who breach their daily drawdown limits during the blow-off move. Master the underlying mechanics of price exhaustion across various market environments by exploring our comprehensive guide to chart patterns.
Disclaimer: This guide was written with AI assistance, reviewed for accuracy by the Proptary editorial team, and kept up to date. It's for education only — not financial advice. Prop trading and the financial markets carry a significant risk of loss, so consider your own situation and consult a licensed advisor before you trade.
FAQ
How reliable is the bump and run reversal pattern?
Technical studies by analyst Thomas Bulkowski show the bump and run reversal is one of the more well-documented classical patterns when validated correctly, often achieving its initial price target. However, reliability drops sharply if traders attempt to predict the peak prematurely. False breakouts and secondary momentum spikes are common during high-volatility events, meaning funded traders must wait for closed-candle trendline confirmation rather than anticipating the turn.
Can a bump and run pattern form as a bullish reversal?
Yes, the pattern can form as a bullish reversal known as a Bump and Run Reversal Bottom (BARR Bottom). In this setup, a steady downtrend accelerates into a sharp, panic-driven selloff before price curves upward and breaks above the downward lead-in trendline. The mechanics remain identical to the top formation, with the initial recovery target located at the origin of the initial decline.
Which timeframes work best for trading the bump and run pattern?
The pattern performs best on higher timeframes such as the 4-hour, daily, or weekly charts. Daily and 4-hour charts provide enough structural liquidity for the lead-in trendline to establish genuine institutional backing. While the formation occasionally appears on intraday charts like the 15-minute timeframe, lower-timeframe bumps are frequently distorted by session opens, spread widening, and sudden economic news releases.
What happens if a bump and run pattern fails?
When a bump and run pattern fails, price respects the lead-in trendline or quickly reclaims it after a brief false breakdown, triggering a trend continuation move. This failure often results in a secondary short squeeze that pushes prices to new extremes. In a funded account, holding a counter-trend short through a failed breakdown risks rapid drawdown expansion and immediate account termination.
How does volume confirm a valid bump and run reversal?
Volume typically behaves in three distinct stages across a valid setup. It remains steady throughout the lead-in phase, spikes dramatically during the initial acceleration into the bump phase, and then visibly diminishes as price approaches the bump peak. Finally, a decisive surge in volume upon the breakdown of the lead-in trendline confirms that institutional selling has overwhelmed residual retail buying.
Disclaimer
This guide was written with AI assistance, reviewed for accuracy by the Proptary editorial team, and kept up to date. It’s for education only, not financial advice. Prop trading and the derivatives markets carry a significant risk of loss, and past performance is not a guarantee of future results. Consider your own situation and consult a licensed advisor before you trade.
Proptary editorial team independently reviews prop trading firms, verifies payouts, and explains the rules that decide who keeps an account. We disclose affiliate relationships and publish methodology for every score.