A retest in trading occurs when price breaks a resistance or support level, pulls back to touch that broken level, and holds before continuing in the breakout direction. It confirms role reversal: old resistance becomes support, or old support becomes resistance. For funded traders, a retest defines a clear invalidation point that helps protect daily and trailing drawdown limits.
A retest in trading happens when price breaks through a key support or resistance level, pulls back to touch that broken boundary, and holds before continuing in the breakout direction.
If you've ever bought a breakout in a prop firm evaluation only to watch a normal pullback clip your daily loss limit before the real move started, you know why entry timing matters. Waiting for a retest gives you a clear invalidation point so you can size positions properly under strict drawdown rules. This guide explains how retests work, when to enter, and the traps that turn textbook setups into blown challenges.
What Does Retest Mean in Trading?
The retest in trading meaning comes down to market verification: price returns to a broken price barrier to prove that former sellers have stepped aside and new buyers are willing to defend the level, or vice versa. Instead of assuming a breakout will hold on the first push, you let price come back to test whether the old ceiling has actually turned into a floor.
In technical price action, this shift is called role reversal (or polarity). It shows up in two directions:
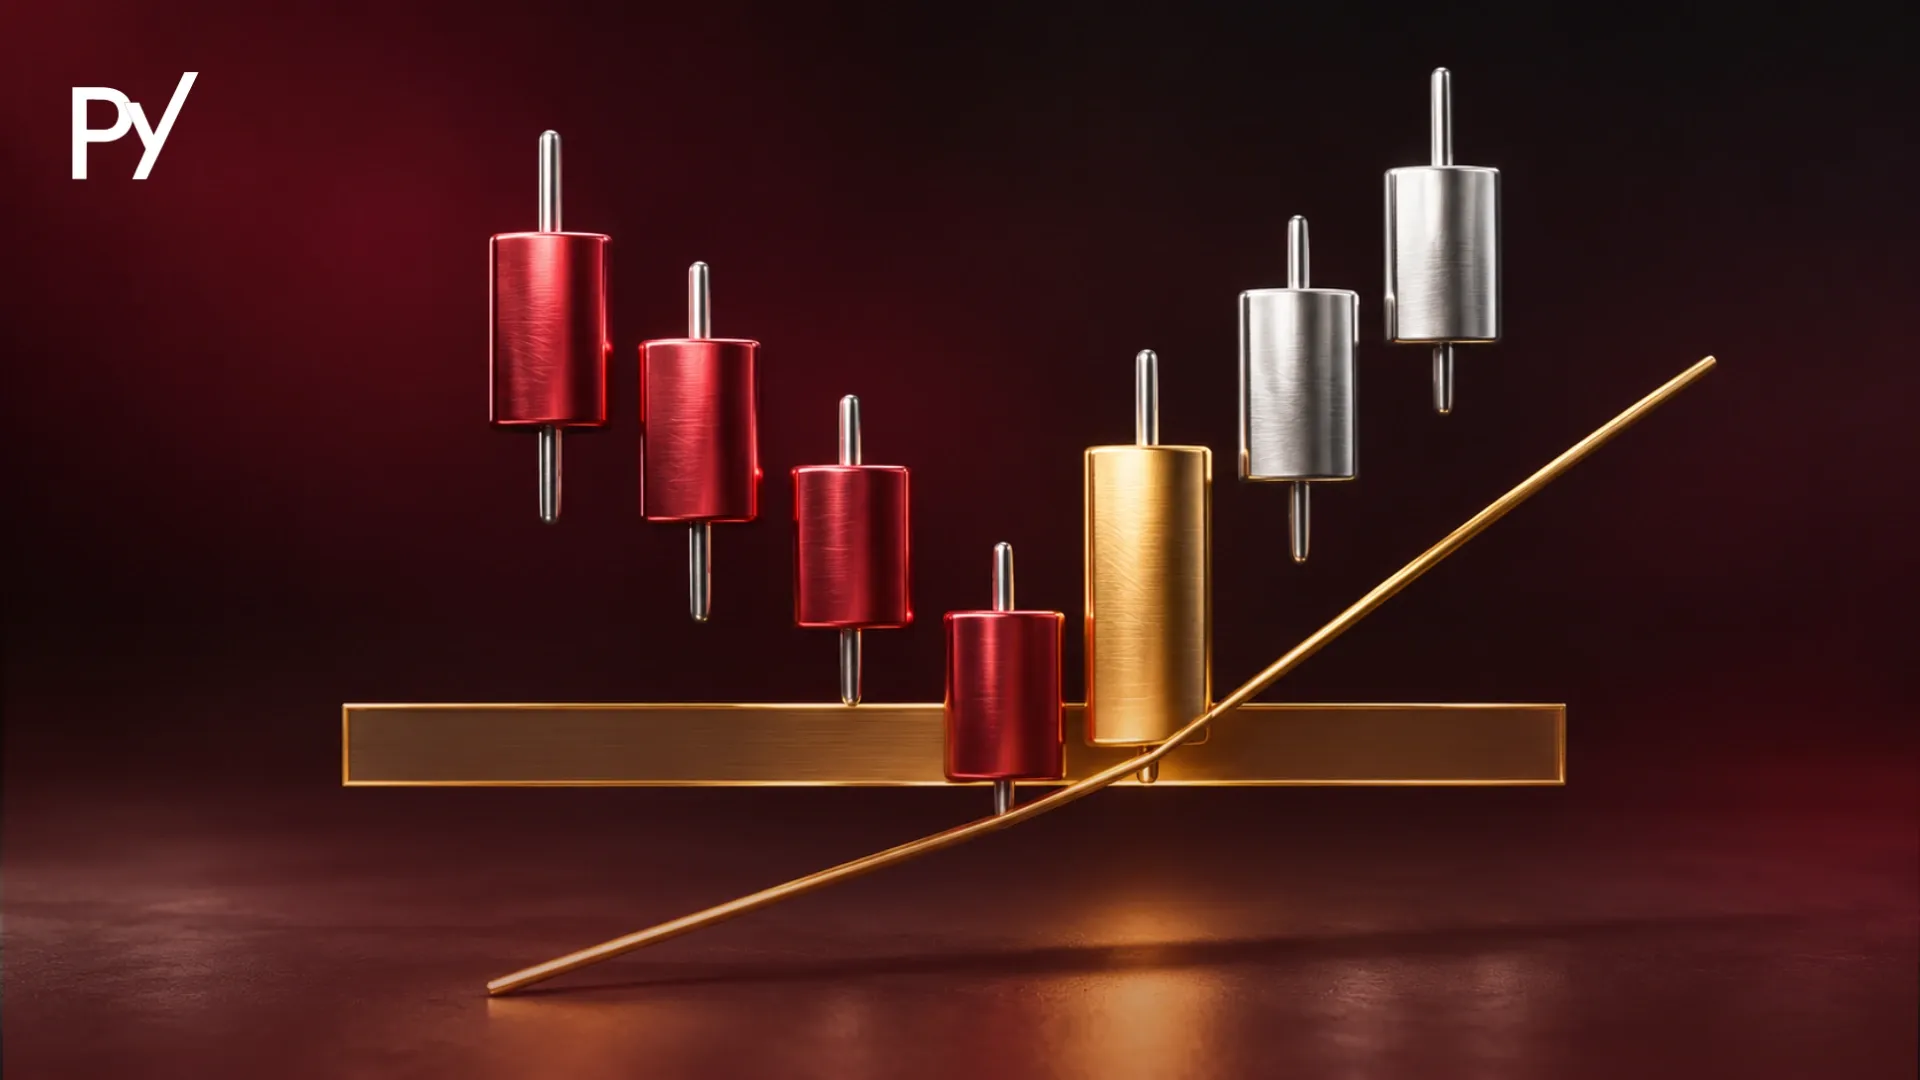
Bullish retest (resistance-turned-support): Price breaks above a ceiling where rallies previously stalled, dips back down to touch that same zone from above, and bounces higher.
Bearish retest (support-turned-resistance): Price breaks below a floor where sell-offs previously stopped, rallies back up to touch that zone from below, and drops lower.
Think of a retest like climbing through a trapdoor from the first floor of a building onto the second floor. Before you carry heavy gear across the room, you step back onto the closed hatch to make sure it holds your weight. If the floor holds, you move forward. If it gives way, you drop right back where you started.
Behind the scenes, three groups of market participants create this pullback naturally:
Trapped traders exiting at breakeven: Traders who shorted at resistance before the breakout are suddenly underwater. When price dips back to their entry level, many close their losing positions, adding buy orders that support the bounce.
Early breakout traders taking partial profits: Buyers who entered right as price cleared resistance often lock in quick gains, creating temporary selling pressure that pushes price back toward the breakout zone.
Patient traders waiting with resting orders: Institutional desks and disciplined retail traders who refuse to chase extended candles place limit orders at the broken boundary, absorbing the pullback.
How a Retest in Trading Works in Market Structure
When you see a retest in trading explained through price action, it follows a three-stage sequence: a structural break shifts market direction, a pullback returns price to the broken zone, and confirmation resumes the trend. Every valid retest depends on those three phases occurring in order.
Stage 1: The Structural Break: Price closes decisively beyond an established swing high or swing low. In market structure trading, a genuine break changes the sequence of highs and lows rather than poking a few ticks outside a sideways range. Without a clear structural shift, there's no broken level worth retesting.
Stage 2: The Pullback (Testing the Zone): Momentum cools as early profit-taking begins, and price drifts back toward the broken boundary.
Stage 3: Rejection and Continuation: New buyers or sellers step in at the flipped level, halting the pullback and pushing price back in the direction of the break.
One critical detail separates experienced funded traders from beginners: retests happen at zones, not razor-thin lines. Support and resistance represent areas where orders cluster, not an exact price to the tenth of a pip or tick.
Price also frequently executes a liquidity sweep during Stage 2. Instead of bouncing neatly off the top edge of broken resistance, price may briefly wick slightly back inside the old range to trigger tight stop-losses placed right below the level before snapping back above it. If you treat a level as an exact line and place your stop-loss one tick behind it, routine wick sweeps will knock you out of valid trades repeatedly.
Why Waiting for a Retest Matters Inside a Funded Account
Waiting for a retest directly protects funded-account survival because it shrinks your stop-loss distance and keeps you out of premature drawdown heat. When you trade with your own personal brokerage account, sitting through a 40-pip pullback on a breakout is uncomfortable. When you trade a prop firm evaluation with a 4% or 5% daily loss cap, that same pullback can end your account before the trade ever has a chance to work.
Using a retest in trading gives you three concrete advantages under prop firm rules:
Tighter invalidation and cleaner risk-to-reward: Suppose an index breaks out above resistance, and entering immediately requires a 30-point stop-loss to stay below the breakout origin. If price pulls back 20 points to retest the broken zone, you can enter near the level with a 12-point stop just beyond the zone's far edge. Assuming normal spread and no news slippage, a 24-point move now delivers a 2R gain instead of less than 1R: without increasing your dollar risk.
Protection against intraday trailing drawdown: Many prop firms calculate trailing drawdown off your highest unrealized equity rather than your closed balance. Chasing an extended breakout exposes you to immediate floating losses when price snaps back to retest, dragging your drawdown floor closer to your balance.
Built-in friction against FOMO and consistency violations: Requiring price to return to a pre-planned zone forces you to wait. That pause filters out impulsive revenge trades and oversized recovery bets that trigger single-day profit caps on firms enforcing consistency rules.
Breakout Entry vs. Retest Entry: Which Fits Funded Trading Rules?
Choosing between a breakout entry and a retest entry comes down to a direct trade-off: breakout entries catch every fast trend at the cost of wider stops and higher fakeout exposure, while retest entries offer tighter risk control at the cost of missing runaway moves that never pull back. Neither method works in every market condition, and pretending one is risk-free will distort your risk management.
Factor
Breakout Entry
Retest Entry
Entry Timing
Immediate as price crosses the level
Delayed until price pulls back and confirms
Stop-Loss Distance
Wide (must sit behind the prior swing)
Tight (sits just beyond the retested zone)
Fakeout Exposure
High (absorbs false breaks directly)
Lower (filters out weak breaks that collapse fast)
Missed-Trade Risk
Low (catches every strong momentum run)
High (misses trends that accelerate without pulling back)
Prop Drawdown Impact
Higher floating heat during initial pullbacks
Lower initial heat; easier to size within daily caps
Price does not always retest after a breakout. During strong institutional momentum (such as a major central bank shift or an earnings gap) price often breaks a key level and accelerates for hours without ever looking back. If you commit to a retest-only rulebook, you must accept watching profitable moves leave without you. In a funded account, missing a clean move costs you $0, whereas chasing an extended candle and getting caught in a reversal costs real drawdown buffer.
How to Confirm a Valid Retest Step by Step
Confirming a valid retest relies on price displacement and candle-close rejection at the broken zone rather than lagging oscillators like RSI or MACD. Indicators react after price has already moved; candle structure shows you in real time whether buyers or sellers are actually defending the level.
Follow these four steps before risking evaluation or funded capital on a retest:
Verify displacement on the initial break: Look for strong, full-bodied candles closing decisively beyond the level rather than a single weak wick poking through. In the Inner Circle Trader (ICT) approach, described in our ICT trading strategy guide, traders look for energetic displacement (often leaving a fair value gap, a price imbalance the market tends to revisit, behind the move) as proof that real order flow powered the break rather than thin liquidity.
Check the pace of the pullback: Watch how price returns to the zone. A healthy retest typically drifts back on smaller, overlapping candles showing waning counter-trend pressure. If price slams back into the broken level with massive full-bodied candles in the opposite direction, momentum has flipped against you.
Wait for candle-close confirmation: Avoid setting blind buy or sell limit orders directly on the level unless your strategy explicitly accounts for wide stops. Wait for a clear rejection wick or a decisive candle close back in the breakout direction on your execution timeframe before entering.
Calculate position size before clicking execute: Measure the exact distance from your confirmation entry to the far side of the retest zone (plus a buffer for spread). Size your lots or contracts so that if the retest fails, your total loss stays strictly inside your per-trade risk cap: typically 0.5% to 1% of account balance on a prop challenge.
3 Common Retest Traps That Blow Prop Firm Challenges
Even a textbook breakout-retest setup can fail or breach a funded account when you ignore invalidation, news spreads, or choppy market conditions. Recognizing where a retest in trading explained on paper breaks down in live execution keeps small losses from turning into account violations.
Holding through a failed retest (bull and bear traps): A retest is a probability filter, not a guarantee. Frequently, price breaks resistance, pulls back to the zone, pauses briefly, and then slices straight back inside the prior range: trapping breakout buyers in a fakeout. Once a candle closes decisively back through the wrong side of the zone, the setup is invalid. Moving your stop-loss wider to "give it room" is one of the fastest ways to breach a daily loss limit.
Trading retests during high-impact news windows: Economic releases like Non-Farm Payrolls or CPI cause sudden liquidity vacuums and wide bid-ask spreads. A tight retest stop placed two pips below support can get triggered by spread expansion alone, even when the chart price never reaches your stop level. Many prop firms also prohibit opening or holding trades within 2 to 5 minutes of tier-1 news releases, meaning a news-spike retest can void your account even if the trade wins.
Forcing levels in sideways ranges (confirmation bias): When markets are stuck in tight consolidation, traders desperate to hit a profit target often draw horizontal lines through minor intra-range swings and label every bounce a retest. If price hasn't broken a clear higher-timeframe boundary with strong displacement, you aren't trading a retest: you're trading noise in the middle of a range.
Conclusion
A retest in trading gives you a structured way to verify role reversal after a breakout instead of chasing extended price candles. By waiting for price to return to a broken zone and show candle-close rejection, you gain a clear invalidation level that keeps individual losses small under strict daily and trailing drawdown rules. Accept that strong momentum trends will occasionally leave without pulling back, and cut failed retests immediately when price closes back inside the prior range. Before placing your next funded trade, size your position around your retest invalidation so a single failed setup never threatens your account limits.
Disclaimer: This guide was written with AI assistance, reviewed for accuracy by the Proptary editorial team, and kept up to date. It's for education only — not financial advice. Prop trading and the financial markets carry a significant risk of loss, so consider your own situation and consult a licensed advisor before you trade.
FAQ
Does a retest always happen after a breakout?
No, price does not always pull back to retest a broken level after a breakout. During high-momentum catalysts such as central bank rate decisions or major earnings surprises, price often accelerates away from the breakout zone without returning. Choosing a retest approach means accepting that you will miss fast runaway trends in exchange for clearer invalidation levels and lower exposure to false breakouts.
Where should you place your stop-loss on a retest trade?
On a retest trade, place your stop-loss just beyond the far edge of the retested support or resistance zone rather than directly on a single price line. Adding a small buffer for normal bid-ask spread and minor liquidity wicks helps prevent premature stop-outs while keeping your dollar risk strictly inside your prop firm daily loss limit.
How do you know if a retest has failed?
A retest has failed when price slices back through the broken zone and closes decisively inside the prior trading range instead of bouncing. Strong, full-bodied candles pushing back across the boundary signal that the initial breakout lacked real follow-through. When that close occurs, the setup is invalid and exiting immediately prevents a small loss from escalating into a drawdown violation.
Which timeframe works best for spotting a retest in trading?
The best timeframe depends on your trading style, though combining a higher timeframe with an execution timeframe offers the clearest structure. Many funded traders identify the primary support or resistance break on the one-hour or four-hour chart, then drop down to the fifteen-minute or five-minute chart to watch for candle-close rejection and refine stop-loss placement.
Can you use pending limit orders to enter a retest?
You can use pending limit orders at a broken zone, but doing so carries higher fakeout risk because you enter before seeing whether price actually holds. In a prop firm evaluation with tight trailing drawdown rules, waiting for a confirmation candle close usually provides better protection against momentum reversals, even if it results in a slightly worse entry price.
Disclaimer
This guide was written with AI assistance, reviewed for accuracy by the Proptary editorial team, and kept up to date. It’s for education only, not financial advice. Prop trading and the derivatives markets carry a significant risk of loss, and past performance is not a guarantee of future results. Consider your own situation and consult a licensed advisor before you trade.
Proptary editorial team independently reviews prop trading firms, verifies payouts, and explains the rules that decide who keeps an account. We disclose affiliate relationships and publish methodology for every score.